Craft and animate your own 3D models, optimized for 3D printing.

Our teachers and tutors graduated from top universities


Overview

Customised curriculum
Learn typical patterns found in each of the AP Art History sections, so you know what to expect.

Test taking strategies
Get diagnosed about your weaknesses and strengths, and learn how to optimize your performance.

Private lesson
No need to accommodate other students. Learning is customised your perfect pace and difficulty so you are always improving.
About Autodesk TinkerCAD
Created by Autodesk, Tinkercad offers an easy-to-use, browser-based entry point into the world of 3D modeling. With its intuitive interface, it’s especially suited for newcomers and younger users, even those lacking prior CAD skills.
Key Features:
Easy Geometry Manipulation: With its Constructive Solid Geometry (CSG) approach, Tinkercad lets you generate intricate 3D forms by merging simpler shapes, simplifying the design and visualization process.
Device Agnostic: Being cloud-based, Tinkercad ensures that your projects are accessible from any internet-enabled device, adding a layer of convenience and adaptability.
Material and Color Palette: The software comes equipped with a diverse array of pre-configured materials and colors, aiding in the visualization of your final print.
Guided Learning: Tinkercad features a range of built-in interactive tutorials, an invaluable asset for educators or anyone new to 3D modeling.
Expanded Functionality: In addition to 3D modeling, Tinkercad also offers Codeblocks for simplified programming and a Circuits feature for virtual electronics experiments, widening its educational scope.
Broad Export Options: It supports a variety of export formats compatible with 3D printers, CNC machines, and even Minecraft. Integration with other Autodesk products is seamless, allowing for effortless transitioning to more advanced software.
Active Online Community: Tinkercad boasts a lively community where users can collaborate, share projects, and find inspiration. The platform’s public design library serves as an excellent starting point for your own creations.
Common Uses:
Educational Settings: Frequently adopted in educational environments for teaching fundamental 3D design and engineering concepts.
Rapid Prototyping: A go-to for quickly mocking up 3D models, especially useful for conceptual testing before using more advanced tools.
Personal Projects: Whether for custom home items or unique gift creations, Tinkercad has the versatility for various personal uses.
Tinkercad is a robust yet easy-to-use tool, making it ideal for students, educators, hobbyists, or professionals looking for a simplified way to turn their creative ideas into 3D models.
Description
This course is perfect for those new to 3D design and curious about where to start. Using TinkerCAD, students will have the opportunity to create their own unique characters or objects. This course is also a great fit for kids who own a 3D printer and want to print their own designs rather than rely on pre-existing templates.
In addition to hands-on design work, the course covers the basics of 3D printing, helping students understand the entire process from digital design to tangible object. With a blend of creativity and technical instruction, this course sets a solid foundation for anyone interested in delving into the world of 3D design and printing.
What you will learn
- Break down intricate objects into simpler components.
- Create and envision objects in a 3D space.
- Improve 2D artistic abilities and draft unique characters.
- Prepare 3D models for the printing process and alter pre-existing 3D designs.
Requirements
- Ages 7 – 13
- Interested in 3D design
Student FAQs About 3D Printing
In 3D printing, layering refers to the technique of constructing an object by stacking individual layers from the bottom up. Each subsequent layer bonds with the one below it, culminating in a cohesive, solid object. Grasping the mechanics of layering is vital for improving both the speed and the quality of your prints.
FDM (Fused Deposition Modeling) and SLA (Stereolithography) are among the most prevalent 3D printing methods. FDM works by melting plastic filaments and depositing them in layers to shape an object. On the other hand, SLA employs a laser to harden liquid resin, also in a layer-by-layer manner. Both technologies come with their own sets of pros and cons, affecting aspects like print quality, the range of usable materials, and processing speed.
Infill pertains to the internal lattice or structure within your 3D print. The density of this infill can be adjusted to make your print either more robust or more hollow, which in turn impacts both the duration of the print and the quantity of material used. A denser infill will result in a sturdier object but will also use more material and extend the print time.
Support material is the extra material used to uphold overhanging sections and intricate geometries that can’t be printed without a base. This material is generally removed after the printing process is complete. The necessity for support material is dictated by the specific design features of the object being printed.
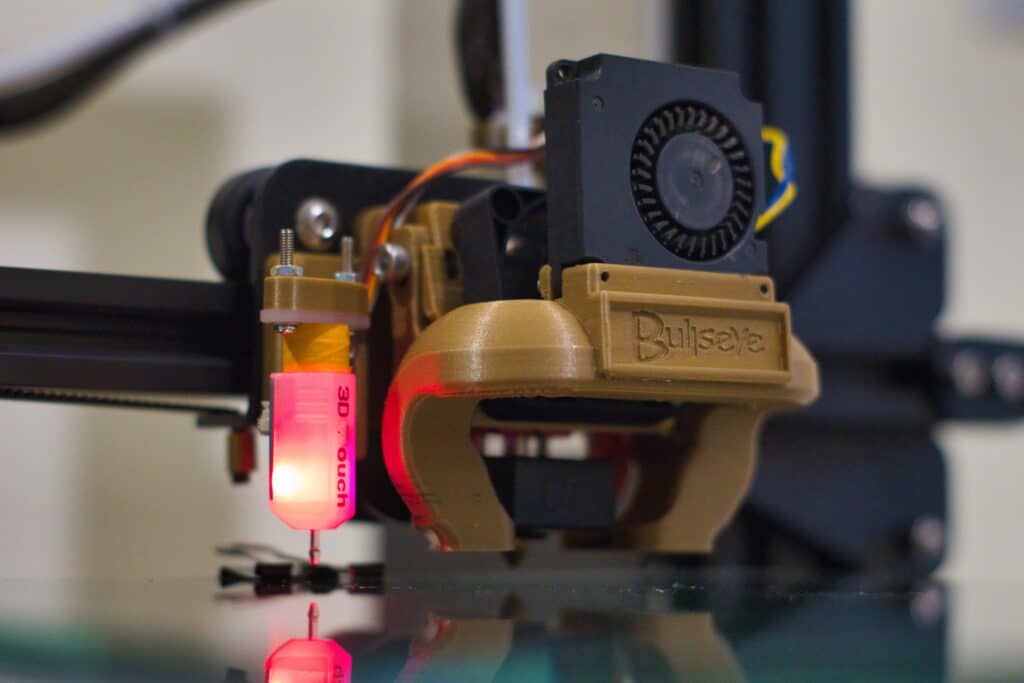
Bed leveling is the process of ensuring that the print bed is perfectly horizontal and aligned with the printer’s nozzle. This is crucial for achieving high-quality prints. A misaligned bed can lead to issues like poor layer adhesion, uneven layering, or even complete print failure. While many modern 3D printers feature automated bed leveling systems, manual calibration is still prevalent in older or less expensive models.
How it works
1
Request a tutor
Let us know your goals and age range. We'll figure out a plan to help get you there.
2
Match with a tutor
We'll recommend you a tutor based on your needs and goals, or you can request a specific tutor.
3
Start a free trial
Experience a free trial lesson with your new tutor and see if your learning style matches.
4
Keep it up!
If everything went well, sign up to keep going! You can choose the pacing of the lessons
Need more info?
Let's talk.
Leave your phone number, and we’ll call you back to discuss how we can help you.


